November 2, 2026
How to blend colored pencils (and shade with them)
How to blend colored pencils smoothly: layering, burnishing, a colorless blender and solvent, plus how to shade with colored pencil from light to dark on a realistic coloring page.
To blend colored pencils, lay down light layers with soft pressure, build each color slowly from light to dark, overlap the edges where two colors meet, then smooth the layers together with a white pencil, a colorless blender or heavier pressure. Many thin layers blend better than one heavy one.
What you need
- Soft colored pencils. Soft wax-based artist pencils blend most easily; firmer oil-based or hard pencils hold sharp detail.
- A light, middle and dark shade of each main color, plus a white.
- A colorless blender pencil (optional). It is a pencil with binder and no pigment, made for smoothing layers.
- A sharpener and a soft eraser. A sharp point for detail, the side of the lead for large soft areas.
How to blend colored pencils, step by step
- Start with the lightest color. Cover the whole area with gentle pressure and small overlapping circles or short strokes in one direction. Leave the paper white wherever you want the brightest highlight.
- Add the middle shade where the shadow begins. Keep the pressure light and let it fade out into the first layer.
- Add the dark shade only in the deepest shadow. It is easier to add more later than to lift dark color off.
- Overlap the edges. Where two colors meet, go back over the join with the lighter color so there is no hard line.
- Smooth the layers. Go over the area with a white pencil, a colorless blender or the lightest color, pressing a little harder. This pushes the layers together into the paper.
- Add the details. Use a sharp, harder pencil for whiskers, edges and texture before you burnish, or only on areas you have not burnished.
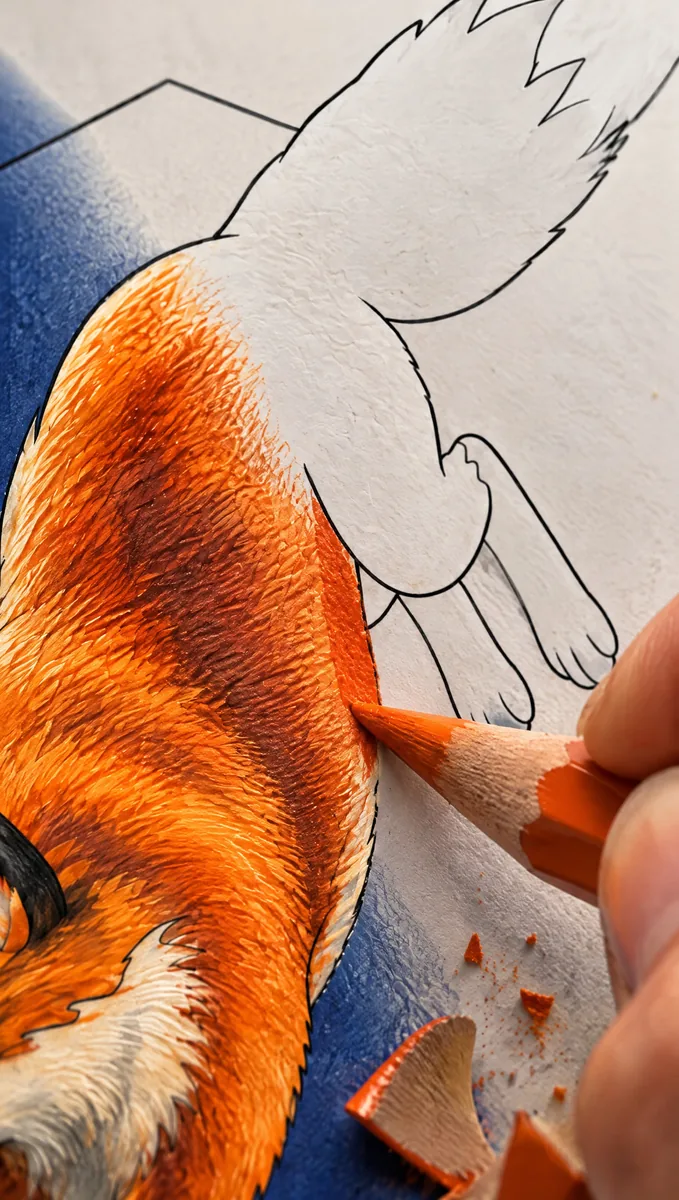
Four ways to blend colored pencils
| Method | How it works | Best for |
|---|---|---|
| Layering | Many light layers of color laid over each other | Every page, as the base for the other methods |
| Burnishing | Heavy pressure with a white, light color or blender to fill the paper's texture | A smooth, shiny finish as the very last step |
| Colorless blender | A pigment-free pencil that smooths and joins layers | Soft gradients without changing the color |
| Solvent | A little odorless mineral spirits on a paper stump or cotton swab, which softens wax and oil binders | Very smooth areas such as sky or water. Use very little, since thin paper can buckle, and test it on a spare page first |
If you use solvent, work in a well-ventilated room, keep the lid closed, and let used stumps and swabs dry flat before throwing them away.
Burnishing fills the tooth of the paper, so plan it last: once the surface is burnished, it will take very little more color on top.
How to shade with colored pencils
- Decide where the light comes from before you start. Shadows fall on the opposite side.
- Shade with pressure, not only with darker pencils. Light pressure gives a pale tone and firmer pressure a deeper one, from the same pencil.
- Use a cool or complementary color for shadows. A touch of blue or purple under orange fur, or blue in the shadows of white snow, looks more natural than black.
- Keep highlights white. The paper itself is your brightest white; a white pencil is for blending, not for highlights.
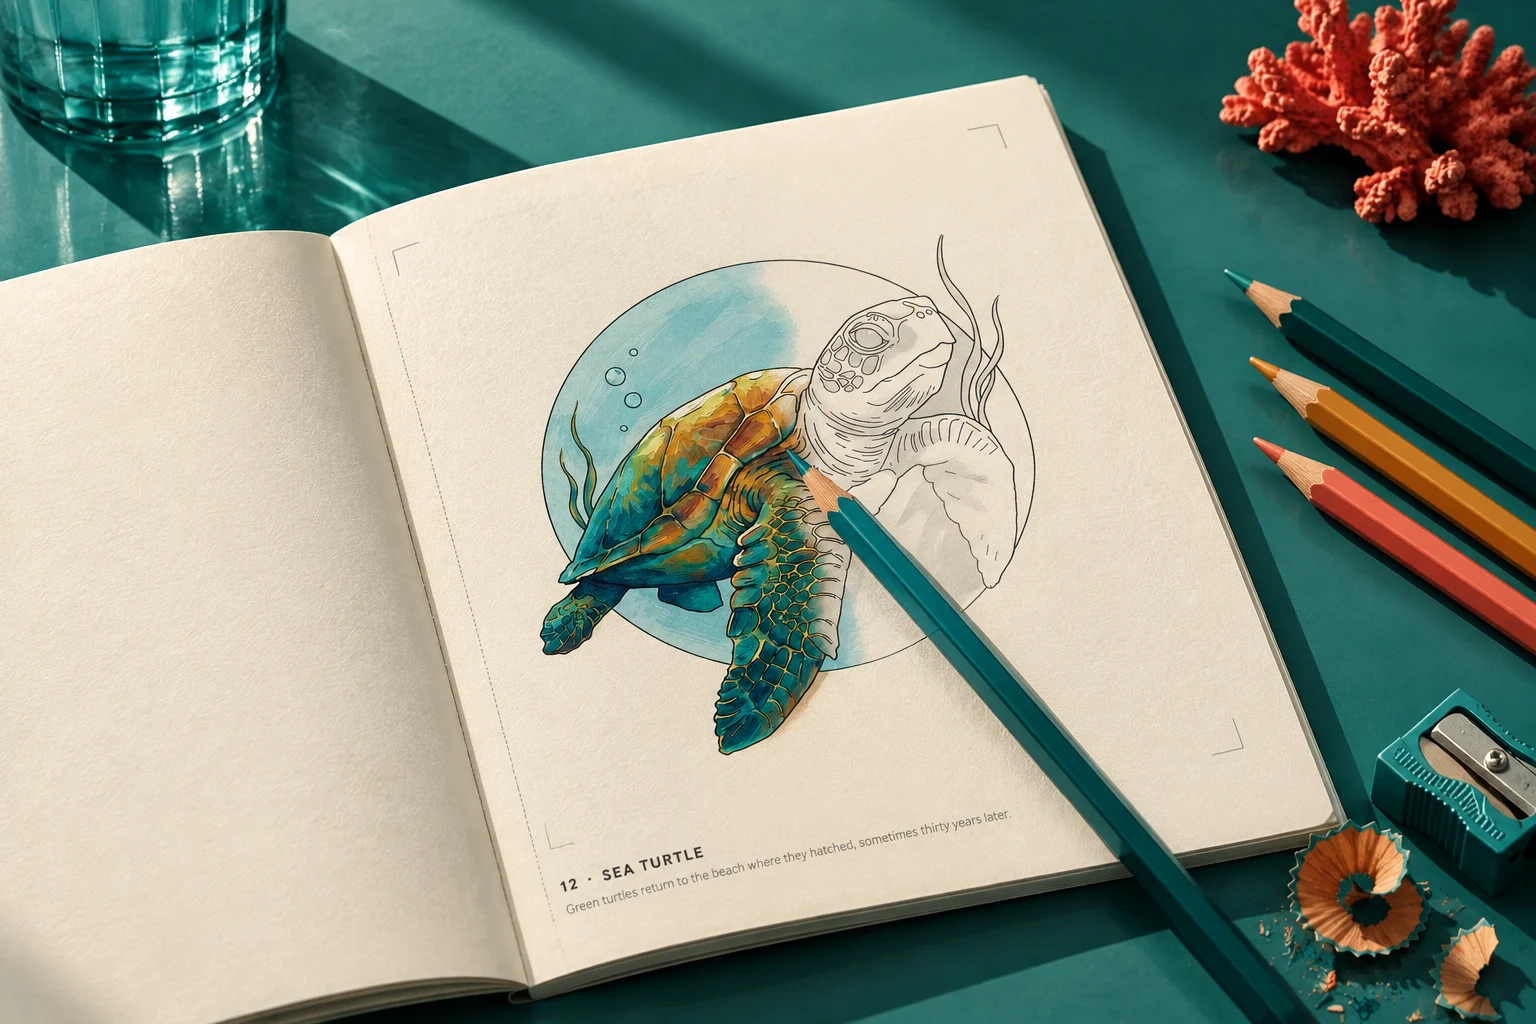
Every drawing in Quiet Winter and Quiet Ocean has a light gray shading guide printed under the lines, so the shadows are mapped before you start: color over it in light layers and the gray areas read as shadow on their own. How to color with a gray shading guide.
Common blending problems
- Grainy, speckled color: the paper's texture is showing through. Add another light layer and smooth it, rather than pressing hard straight away.
- A hazy film on dark areas: this is wax bloom, which can appear on heavy layers of wax-based pencil. Wipe it gently with a soft tissue. It can return, and a light spray of workable fixative stops it.
- The paper won't take more color: the tooth is full. Stop adding layers, and next time keep the early layers lighter.
- Muddy colors: too many colors blended in one spot. Blend neighboring colors, such as yellow into orange, and keep complements apart until the shadow.
Practice on a free page
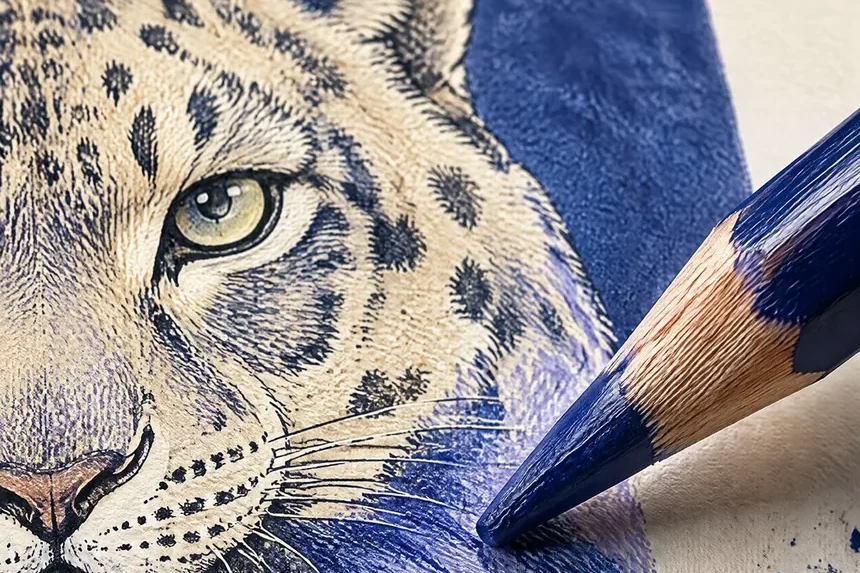
Try it on the snow leopard's fur, the hardest blending in Quiet Winter, using the snow leopard color guide, or print one of our free coloring pages for adults and practice before you start the book. For choosing pencils and markers, see colored pencils and markers for adult coloring.
Buy on Amazon Printables on Etsy
Quick answers
How do you blend colored pencils smoothly?
Lay several light layers with soft pressure, build from light to dark, overlap the edges where colors meet, then smooth the area with a white pencil, a colorless blender or heavier pressure with the lightest color.
What can I use to blend colored pencils?
A white or light-colored pencil, a colorless blender pencil, heavy pressure (burnishing), or a little odorless mineral spirits on a paper stump, used in a well-ventilated room. Test any solvent on a spare page first.
Can you blend colored pencils with baby oil or Vaseline?
It is not recommended. Household oils stay greasy and can stain or discolor the paper over time. A colorless blender or odorless mineral spirits made for art are better choices.
What is burnishing with colored pencils?
Burnishing is pressing hard with a white, light color or blender pencil to fill the paper's texture, giving a smooth, shiny finish. It is the last step, because the paper takes little color after it.
How do you shade with colored pencils?
Decide where the light comes from, use lighter pressure for pale areas and firmer pressure for shadow, add a cool or complementary color in the darkest parts, and leave the paper white for highlights.
Do I need a blender pencil?
No. Layering and burnishing with a white or light pencil blend well. A colorless blender makes smooth gradients easier, especially over large areas.